Dec. 2008 - As a holiday gift this year, I was the lucky recipient of a compact fridge (of my choice) and a kit for converting that fridge such that I could begin
kegging my beers at home instead of bottling. The advantages of kegging are numerous, including less production time, less conditioning time, a better end product experience, more end product control, etc..
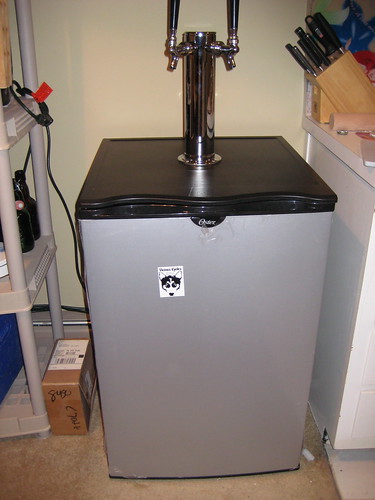
I decided to go ahead and mount a two-tap tower onto the top of the fridge to maximize beer availability and overall beer production satisfaction. This means that I
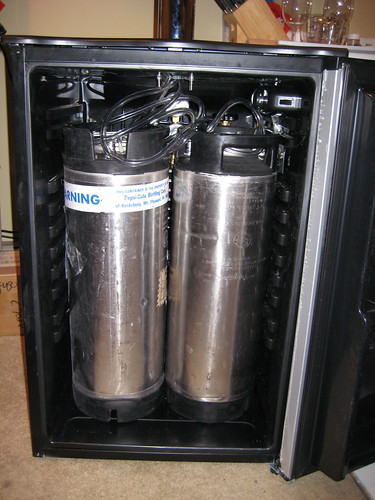
really wanted a two-spout tower on top and decided to go ahead and pony up for it. Below are the steps that I took to convert my compact fridge to a homebrew kegerator,
capable of holding two 5-gallon homebrew kegs. But first, some parts, tools, etc...
- I also need to mention a couple of sites of other people who did similar conversions from which most of my ideas came. They were extremely useful.
Parts: (not exhaustive)
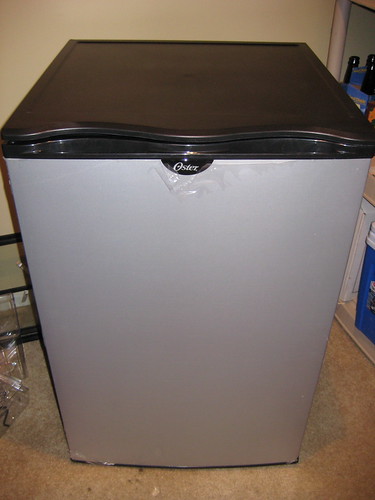
- Compact refridgerator such as the Oster OR5005M3M. The important aspects are that it not have a freezer compartment at the top and that it is large enough to fit your kegs.
This one has a cooling panel in the back with no freezer section, and it is a full 5.0 cubic feet in volume. Note, however, that the company that makes these for Oster has recently
declared bankruptcy, so while parts may be available, warranty service will probably be hard to come by. I doubt they would honor the warrantly, though, after the modifications
have been made.
- A kegerator tower. I purchased this one and am not disappointed. I ordered one with the homebrew connectors so that my spout connections were ready to go upon delivery.
If I had researched it more, I may have upgraded to the Perlick faucets, as everything I read says they are better quality and design.
- A 12V computer case fan. I purchased mine at a local electronics surplus store. This is for the fan that will push air up into the tower.
- A 12V adapter with amperage higher than the fan requires (for cooler running). Purchased at the same surplus store.
- #10-24 x 3" bolts with matching washers and locknuts in stainless steel - the SS was my choice and the size was the best fit for the tower, which shipped with wood screws. I opted to secure my tower with bolts instead.
- about 3 feet of 7/8" od tubing.
- some wire nuts, electrical tape, etc, for modifying some wiring
Tools: (definitely not exhaustive)
- basic tools (screwdrivers, drill, pliers, etc.)
- 2" hole saw
- 15/64 drill bit
- aluminum tape (322) - this was used by everyone else, so I decided to follow suit. I suppose other types of tape could work, but possibly not as well in the consistently cold conditions.
Steps:
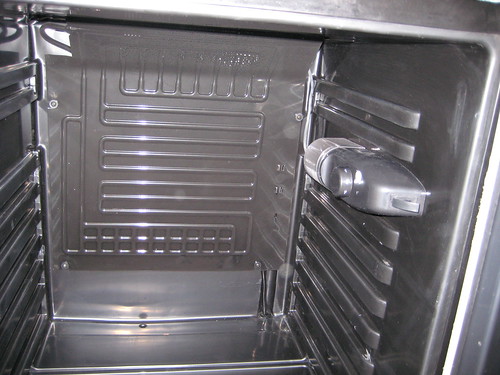
- First, I worked on modifying the electric pieces inside. There are two goals: making room for the second keg and running a power source to the fan.
- To make room for the keg, the temperature control needs to be moved to a higher position in the fridge. There are two screws holding the controller in place,
one under the white cap near the front, beside the dial, and the other in the back behind the light. It is best to just go ahead and remove the light cover and the bulb
to gain access. Note that the rear screw is actually through a button of sorts that will aid in the re-attachment later.
-
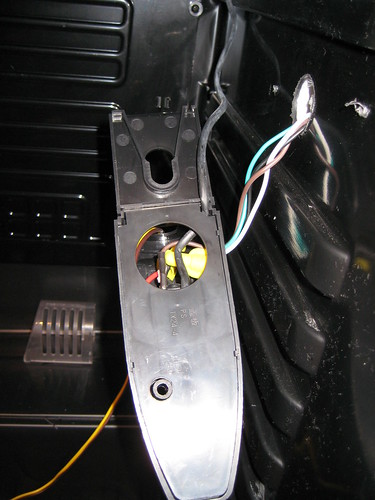
Once removed, gently remove the plastic backing panel from the controller to expose the wiring. All of the wires can be removed from their tabs without
messing with having to do any wire manipulations. Some people choose to just leave the wires intact and move the whole unit up, mounting it at an angle so that the wires are all still attached,
but re-routing them is mostly trivial, so that's what I did. Note that you should NOT remove the metal thermostat connection. This will be obvious since it is the only connection not made via a tab.
-
You will need to drill a whole in the bottom of the unit large enough to fit the tabs. I ran the wires through the hole I made and reattached to their appropriate tabs.
At this point, I connected the wire to power the fan. I removed the bulb fixture and there were a red and white wire connected to the fixture that I used to connect the fan.
I found some wire I had around the house, which was cut from a cable meant for use on a trailer to hook up the turn signals, which was handy since it was designed for all types of weather;
though I don't think this would really matter. I connected the wires to the red and white wires from the light, removing the tabs, stripping the housing off both ends, and using wire nuts
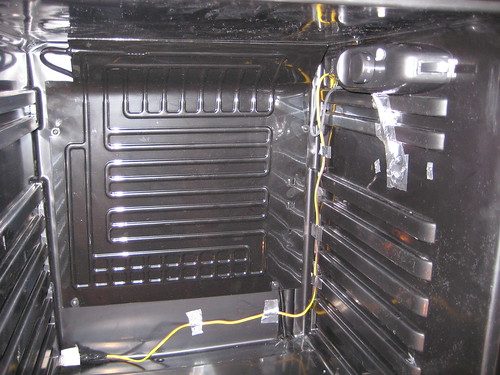
to secure them together. I ran the wire out of the back of the controller where the bulb used to be in order to run it down to the shelf for my fan.
-
At this point, I reattached the controller to the fridge. I started with the front screw, but if I was doing it again, I would have used the back to mark where I wanted the button, then I would have attached the
button without the controller, attached the controller to the button, then screwed in the front screw to secure it in place. I then used some of the aluminum tape to secure the wires from the fridge to the
controller as well as to route the cable that would feed the fan. I didn't fully secure that wire, though, as there was more work to do on it.
-
I also found some styrofoam around the house that was originally used in a box for packing and stuffed it into the hole that was behind the original placement of the controller. Then I covered
that hole with more aluminum tape.
-
To finish preparing the fan wire for the adapter, I found an outlet adapter (meant to ground an otherwise ungrounded outlet) and secured the wires to the prongs. I attached the red wire (or the green one it was attached to,
as the case was for me) to the larger prong and had no issues. I secured and insulated these connections well with electrical tape and tested it with a small lamp I had handy.
I ended up having no problems (and no burning smells) with the fridge nor any of my custom wiring. The wiring in a setup like this is rather simple.
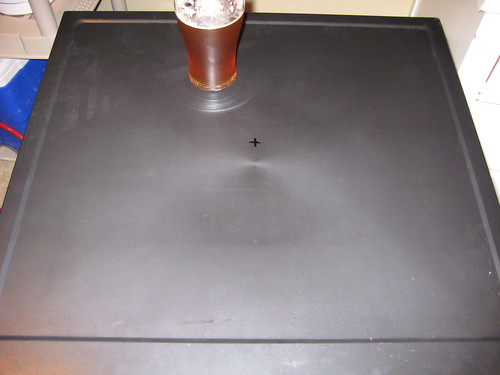
- Next is preparing the kegerator itself for accepting the tower. First, decide where to position the tower. I measured for where the center would be, and I positioned
the tower where I would like it, which was about an inch behind the "plug" in the center of the top. I verified that my positioning would leave plenty of room inside the fridge for
cutting holes and securing the tower. I marked my position with a sharpie.
-
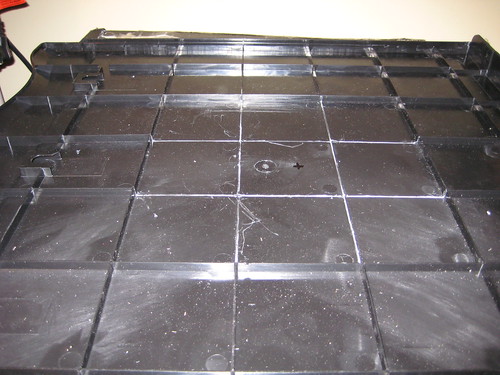
Next remove the plastic top from the fridge. Do this by removing the three screws across the top of the fridge in the back.
Then gently lift the back of the top about an inch (so the back of the lid will clear the fridge) and gently slide the top forward. I then measured and marked the center position on the bottom, as well.
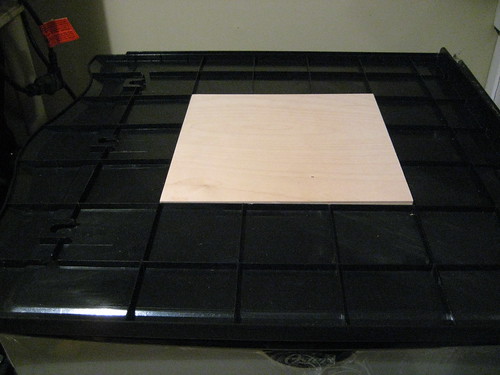
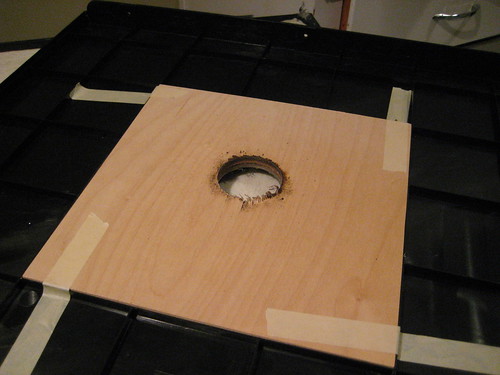
- Next, I decided where my wood support panel would best support my tower on the bottom of the lid and had a friend cut me a piece of 1/4-inch plywood to a size that would fit well on my lid.
For my setup, that was a 9 3/8 inch square. I then proceeded to remove the crosshairs in the way of my plywood by using a utility knife to weaken the bottom of the plastic "beam" and then using
some pliers to pry it out. I then used my knife to trimm down any unevenness in the surface where my wood would reside so that it would fit evenly. To prepare for drilling my hole, I secured the wood in place with tape
and completely re-attached the top to the fridge, with the screws and all.
-
Cutting (or drilling) the hole for the tubes to the tower was the most daunting part of the project due to the no-going-back aspect of that particular cut. To aid in an even cut,
I drilled two pilot holes before attampting to use the hole saw. First was a very small hole in the dead center of where the larger hole was desired. Next, I cut a larger hole using the 15/64 bit that went all
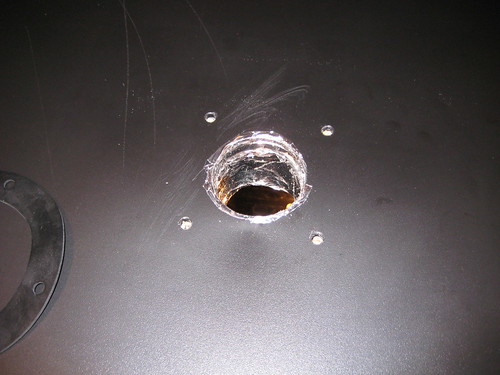
the way through to the inside of the fridge. Once that was cut, I was ready to go with my hole saw. I attempted to cut all the way through in one pass and was mostly successful. The inner plastic surface of the fridge
ended up splitting before I could fully cut it. I used my knife to finish that cut, and since I was going to tape around the inner cut with aluminum tape anyway, taping a 2-3 inch crack wasn't a huge deal. It would have been better
to do that cut in a ventilated area, though, because the fumes from burning plastic and insulation from the cut were pretty caustic. It only burned one of my nasal passages minorly (which could, I guess, be a week or so off my life - no telling).
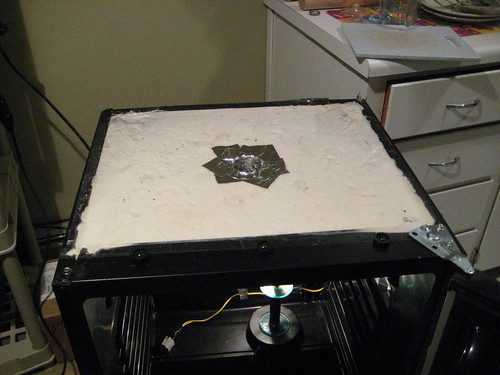
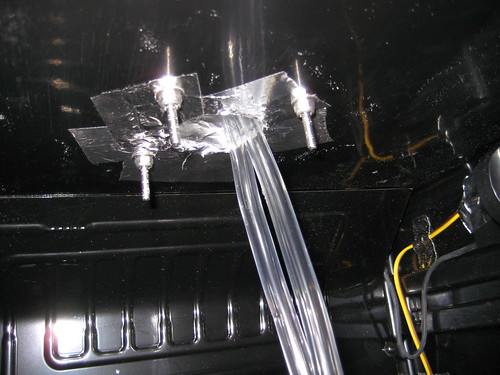
- After the cut, like I mentioned, I taped the inside of the fridge and taped over the exposed insulation. I did both after removing the top again. I also sanded and trimmed the plastic top and the wooden panel where the cut took place using some standard
sand paper. This time, I used some adhesive caulk to secure the wood panel to the top as well as some aluminum tape, which would hold it in place while replacing the top before the caulk set.
- The next step was to drill the holes to secure the tower. I used the tower itself to mark the location for the holes, then, once again, used a small drill bit to drill pilot holes before drilling all the way through with the 15/64 bit.
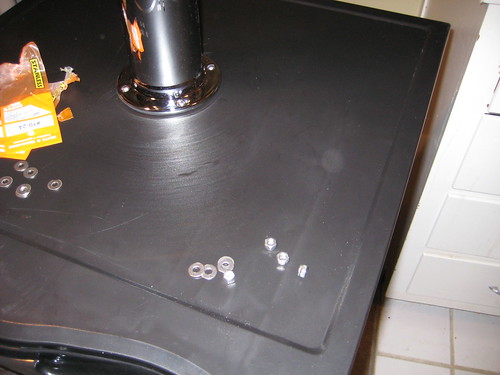
- Finally, I fed the tap lines through the hole and used the bolts, nuts, and washers I had purchased to secure the tower to the fridge. Once it was on there tight, I backed each bolt off slightly when I saw that the fridge top was
slightly compressed from the tightness. Once secure, the tower felt firmly in place.
- One of the biggest issues people with homemade kegerators tend to have is lack of even temperatures throughtout the fridge and especially in the tower. To combat this, I built a fan that would draw cold air from
the bottom of the fridge and blow it into the top of the tower. I made this from a 12V 80mm computer case fan that I found at a local surplus store. I found, to my approval, that the fan I purchased happen to have a 3-speed
switch built onto it. Circulation of the fridge shouldn't require much flow, but this way if it has a tougher time in the summer keeping the tower cool, I can just turn the fan up a knotch. (As it is, the low speed seems to be doing just fine.)
The fan also has a couple of fancy blue LED's that actually help me see in the fridge since the original light is gone.
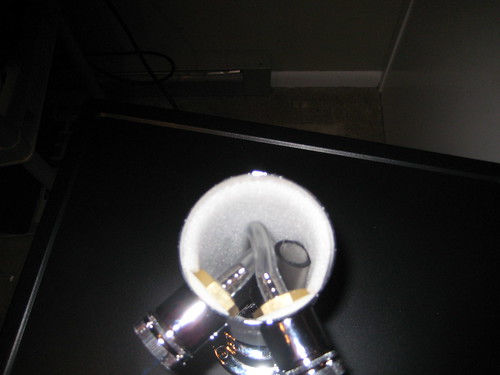
- I attached my fan into an old plastic rice container with the sides cut out. This way I could secure the fan in a horizontal manner so that it would blow up into the tube that would carry the air into the tower. At first, I tried a setup that would blow horizontally, but the
air flow was not as strong. I then secured an old bike bottle manipulated for the purpose to the top to help funnel the air into the tube. I ran the tube into the tower leaving the top of the tube about 2-3 inches shy of the top of the tower.
-
I removed the connectors from the fan power supply wire and removed the appliance end plug of the 12V adapter and connected them directly and securely using wire nuts and some eletrical tape.
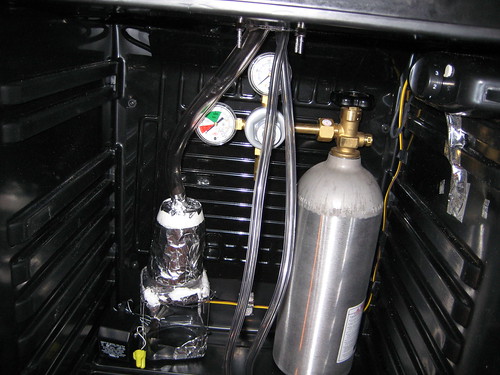
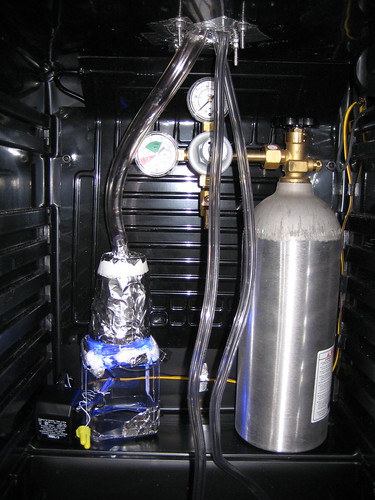
Then I plugged the adapter into the outlet I had created in my fridge and placed them beside my fan. The fan is placed so that the tube runs confortably up into the tower and so that there is enough room for the co2
cannister with regulator beside the fan on the compressor shelf. If/when I get a dual-regulator system, I may have to move the fan tube slightly to make more room, but that shouldn't be an issue.
- Unrelated to the kegerator itself, another modification I made to my setup was to add a 'Y' and a second stop cock to my co2 regulator so that both kegs can be charged with the same regulator, but I can shut off one or both completely and not worry about
gas escaping from my plastic co2 keg attachment.
That's all there is to it. If there are questions, feel free to email me at troy@mybrewing.com.